
_edited.png)

Photo Booth Placement Wedding: Where to Put It for Best Use

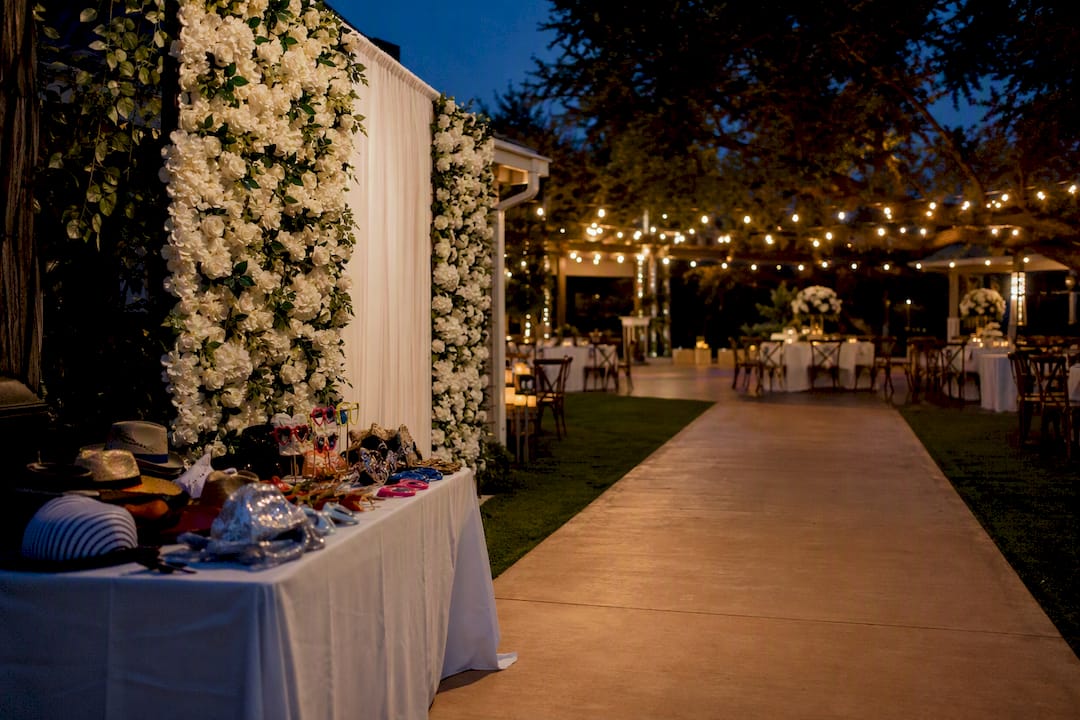
Put the booth where guests already walk: near the bar, close to the reception entrance, or just off the dance floor, never tucked next to the DJ or band. That single choice determines whether it gets used all night or sits empty in a corner. Here’s the fast version before we break down the why.
Best spots: near the bar, by the entrance, at the edge of the dance floor, in a well-lit lounge area
Worst spots: dead-end hallways, behind pillars, next to speakers, tucked into unlit corners
Open-air booth footprint: about 8×10 ft, plus 4 to 6 ft of queue space
Enclosed booth footprint: roughly 5×7 ft, still needs 4 to 6 ft for the line
That’s the whole answer in a nutshell. Everything below helps you apply it to your actual venue.
Key Takeaways
Photo booth placement works best when it sits along a high-traffic path with clear sightlines, safe distance from speakers, and a footprint planned in advance.
Point | Details |
Choose high-traffic spots | Place the booth near the bar, entrance, or dance floor edge where guests already walk. |
Keep speaker distance | Stay at least 10 feet from DJ or band speakers to avoid noise interference and congestion. |
Plan the full footprint | Budget 8×10 ft for open-air booths and 4 to 6 ft of extra queue space. |
Confirm power and lighting | Secure an outlet within 6 feet and avoid backlighting from windows or exit signs. |
Work with a local vendor | Terriffics Entertainment LLC offers floorplan consultation and same-day setup across Oahu. |
Table of Contents
Why Photo Booth Placement Wedding Planning Actually Matters
Placement decides whether your booth becomes the party’s favorite corner or an expensive prop nobody visits. A well-placed booth pulls guests in on autopilot, they see it on the way to the bar, they wander over between songs, and the line builds itself. A poorly placed one, hidden behind a pillar or stuck down a side hallway, needs a sign, an announcement, and a nudge from your DJ just to get a trickle of traffic.
We’ve seen the pattern play out both ways. At one reception, the booth sat 15 feet from the entrance with a small marquee sign, and it never had fewer than three couples waiting. At another, a gorgeous mirror booth got placed in a side room past the coat check, and by 9 p.m. it had four total uses. Editorial coverage of dozens of weddings backs this up: visibility and lighting predict booth use far more reliably than how much the booth costs or how advanced its technology is. Your venue coordinator and your photobooth vendor should both weigh in on placement during your final walk-through, not after setup begins.
Placement Rules For Choosing The Right Spot
Walk your venue with these rules in hand and you’ll land on the right spot in under ten minutes.
Prioritize visibility over aesthetics. A booth guests can see from the dance floor or bar gets used ten times more than one hidden behind a stage or curtain, even if the hidden spot photographs better for your Instagram flat-lay.
Respect traffic flow. Place the booth along a natural walking path, near the bar-to-dance-floor route works well, but never block a fire exit, buffet line, or the path between tables and restrooms.
Check lighting before you commit. Avoid positioning the booth with a window or bright exit sign directly behind the subjects; backlighting turns your guests into silhouettes. Look for a spot where ambient room light hits faces, or plan a small fill light or ring light for the booth’s own lighting kit.
Keep distance from speakers. Give the booth at least 10 feet of clearance from DJ speakers or band amps. Closer than that and you get muffled prop-table conversations, audio feedback in video booths, and guests who can’t hear the attendant’s instructions.
Plan the full footprint, not just the booth. An open-air setup needs roughly 8×10 ft plus 4 to 6 feet for a queue, while mirror booths and 360 rigs need noticeably more room for the same reason a bigger dance floor needs a bigger perimeter. Enclosed booths are more compact but still need line space.
Confirm power and connectivity early. Most vendors want an outlet within about 6 feet of the booth, per DIY and rental setup guidance from Paperlust, plus a stable Wi-Fi signal or mobile hotspot if the booth offers instant digital delivery.
Don’t forget ADA access. Leave a clear 36-inch path to the booth entrance and queue area, and skip spots that require stepping over cables, rugs, or raised thresholds.
Here’s what your vendor needs on-site to make that spot work:
A dedicated outlet or a properly taped-down extension cord run
Reliable Wi-Fi or a mobile hotspot for cloud uploads and instant sharing
A backup storage drive in case the connection drops
An attendant stationed at the booth for the full open window
A props table and small signage stand within arm’s reach of the line
Pro Tip: Design for discovery, not just for the photo itself. A backdrop that looks stunning in a dim, out-of-the-way alcove will lose to a plain backdrop set up in bright, high-traffic real estate. Guests need to notice the booth before they’ll ever pose in front of it.
One more placement note worth remembering: venue coordination guidance suggests corners can actually work well, as long as they stay visible and well-lit, and as long as they’re never squeezed between service routes or dinner tables where a photobooth line collides with waitstaff carrying trays.
Adjusting Placement By Venue Type
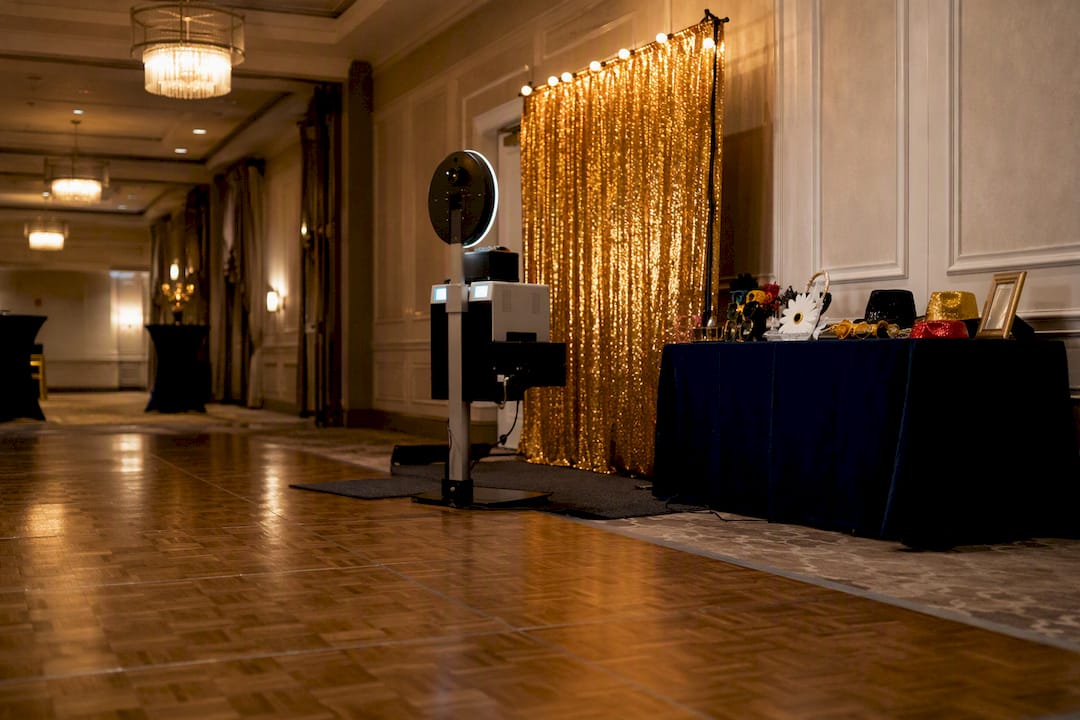
Indoor ballroom. The sweet spot is usually a side wall near the dance floor, close enough to catch overflow energy without competing with the band for space. Confirm outlet locations along that wall during your walk-through, ballroom outlets often sit only near the head table or bar.
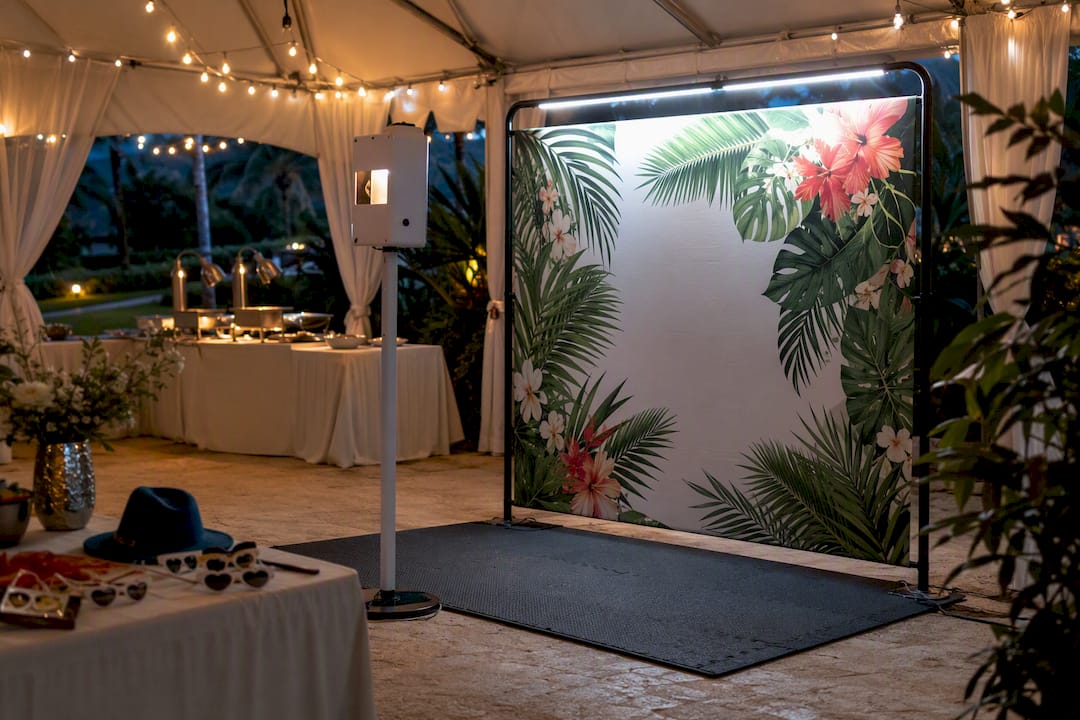
Tent or outdoor reception. Weather protection comes first: a sturdy backdrop stand, weighted legs, and a plan for wind or rain. Confirm whether the tent has generator power or if you need a dedicated line, and test sightlines after dark since string lights alone rarely give the booth enough fill light. For outdoor reception layouts, a spot under partial tent cover near the bar tends to outperform an open-lawn placement.
Barn venue. Barns often have uneven power distribution and dim ambient lighting, so scout for an outlet near the main gathering area and bring supplemental lighting for the booth itself. A spot just inside the barn doors, where natural light fades to string lights, usually draws steady traffic.
Cocktail-style reception. With no fixed seating, place the booth along the same loop as the bar and appetizer stations, guests are already circulating, so the booth becomes one more stop on their path rather than a separate destination.
Small urban venue. Space is the constraint here, so an open-air frame or simple backdrop wall usually fits better than a 360 rig. Check for a compliant ADA path to the booth even in a tight footprint, and confirm outlet access before committing to a corner.
Floorplan Examples You Can Copy
Cocktail-style layout: place the booth along the bar-to-lounge walkway, roughly 10×14 ft of total space including queue, with the backdrop facing away from any windows.
Seated dinner with dance floor: position the booth at the far edge of the dance floor, opposite the DJ, giving at least 10 feet of speaker clearance and a straight sightline from the head table.
Small urban reception: tuck an open-air frame into a corner near the entrance, using a 8×10 ft footprint total, with the props table folded into the queue line rather than set apart.
Booth Type | Footprint Needed | Notes |
Open-air | 8×10 ft + 4–6 ft queue | Most flexible for groups |
Enclosed | 5×7 ft + 4–6 ft queue | Smaller footprint, fewer people per shot |
Mirror booth | 10×10 ft + queue | Needs more clearance for full-length shots |
360 booth | 10×12 ft + queue | Largest footprint, needs overhead clearance |
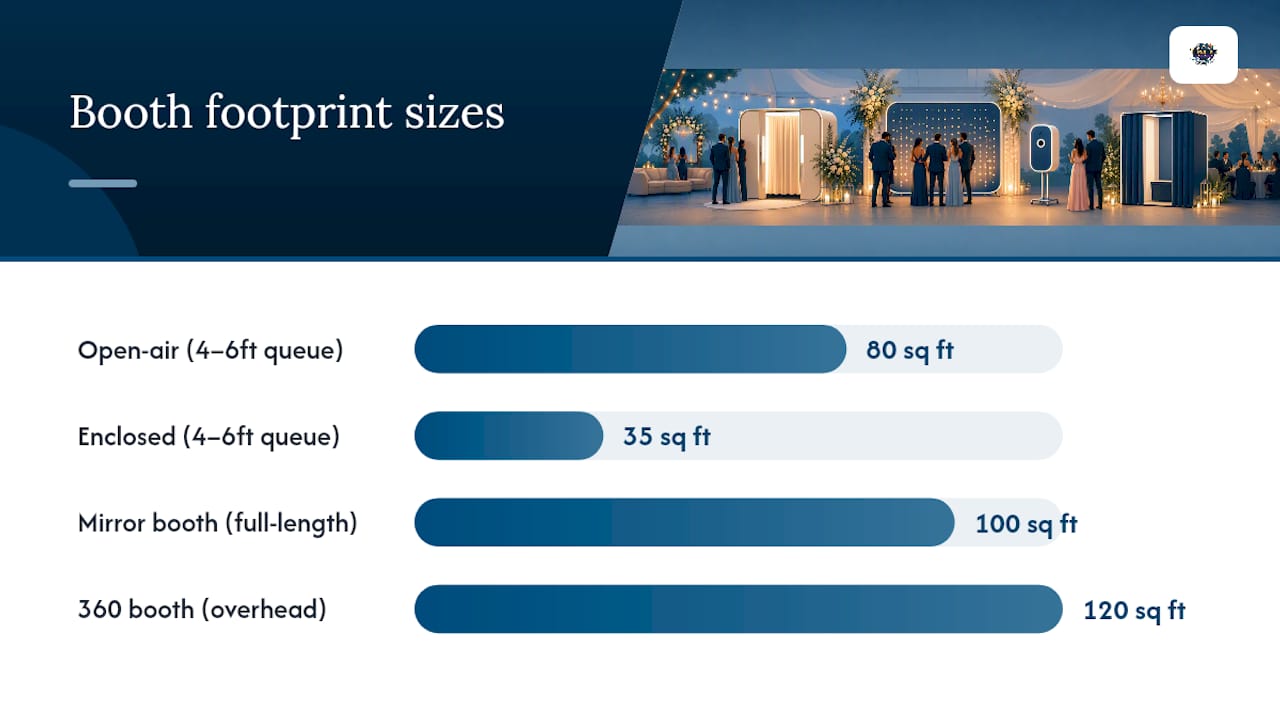
Legend for any layout: mark a sightline from the main guest path, a queue zone of 4 to 6 feet, a props table adjacent to the line, a power drop, and an attendant station within reach of both.
What To Confirm With Your Photobooth Vendor
Lock these details down before the wedding day, not during setup:
Exact setup and teardown windows (most rental booths need 45 to 60 minutes to set up)
Confirmed footprint dimensions matched to your floorplan
Power and cable routing, including who supplies extension cords
Digital delivery method (QR code upload, instant text, or gallery link)
Attendant coverage for the full open window
Item | Vendor Responsibility | Venue Responsibility |
Power access | Bring cords, surge protector | Confirm outlet location |
Cable safety | Tape down cords | Approve routing path |
Prints/digital delivery | Provide printer, QR upload | None |
Attendant | Staff the booth | Provide table if needed |
Terriffics Entertainment LLC handles this kind of coordination directly with couples and venue planning teams across Oahu, walking through footprint, power, and timeline before the event ever starts.
Common Placement Mistakes And Quick Fixes
Booth tucked behind a pillar or in a side room: move it 10 to 15 feet toward the main walkway and add a small standing sign pointing guests toward it.
Booth placed too close to the DJ or band: shift it at least 10 feet away, or add a portable acoustic panel between the booth and the speakers if you can’t relocate it.
Backlit by a window or exit sign: turn the backdrop 90 degrees or bring in a small LED fill light for the booth’s own lighting rig.
Underperforming line all night: the fastest fix is better lighting and a clearer sign, not a cheaper booth. If you make a change mid-event, tell your DJ and coordinator immediately so they can redirect guests verbally.
A Vendor’s Take On Getting Placement Right
We’ve set up enough booths to know the difference between a good spot and a great one comes down to minutes, not luck. A great spot means guests spot the booth within their first ten minutes at the reception. Our setup crews always confirm the power source and run a quick test shot under the venue’s actual evening lighting, not the afternoon light during load-in, because that’s when backlighting problems show up.
Get Placement Help With Your Photobooth Rental
Terriffics Entertainment LLC gives Oahu couples a straightforward path to great booth placement: we handle the floorplan consultation, same-day setup, and a trained attendant, so you’re not the one measuring footprints on your wedding morning. That’s the real advantage over piecing it together yourself: you get a crew that already knows how Oahu venues handle power, lighting, and traffic flow, without hiring a separate planner just to figure out where the booth goes.
Browse real setups in our photobooth gallery to see how placement looks in cocktail-style and seated layouts, then book your Oahu photobooth rental and we’ll map the floorplan with you before your date locks in.
Frequently Asked Questions About Photo Booth Placement
Where is the best place to put a photo booth at a wedding? Near the bar, the reception entrance, or the edge of the dance floor works best because guests naturally pass by and notice it without prompting.
How much space does a wedding photo booth need? Plan for about 8×10 ft for an open-air booth and 5×7 ft for an enclosed one, plus 4 to 6 feet of queue space in front.
How far should a photo booth be from the DJ or speakers? Keep at least 10 feet of clearance to avoid audio interference, feedback, and crowding between the two high-traffic zones.
Should a photo booth be indoors or outdoors? Either works if lighting and power are handled. Outdoor placements need weather protection and supplemental lighting after dark, while indoor spots need an outlet within roughly 6 feet.
Does photo booth placement affect how many photos we get? Yes. A visible, easy-to-find station tends to collect 40 to 60% more guest photos than one placed in a low-traffic area.
Sources
These sources back the footprint numbers, setup timelines, and placement rules used throughout this guide:
Recommended
Comments