
_edited.png)

Sound and Lighting Setup Guide for Event Planners

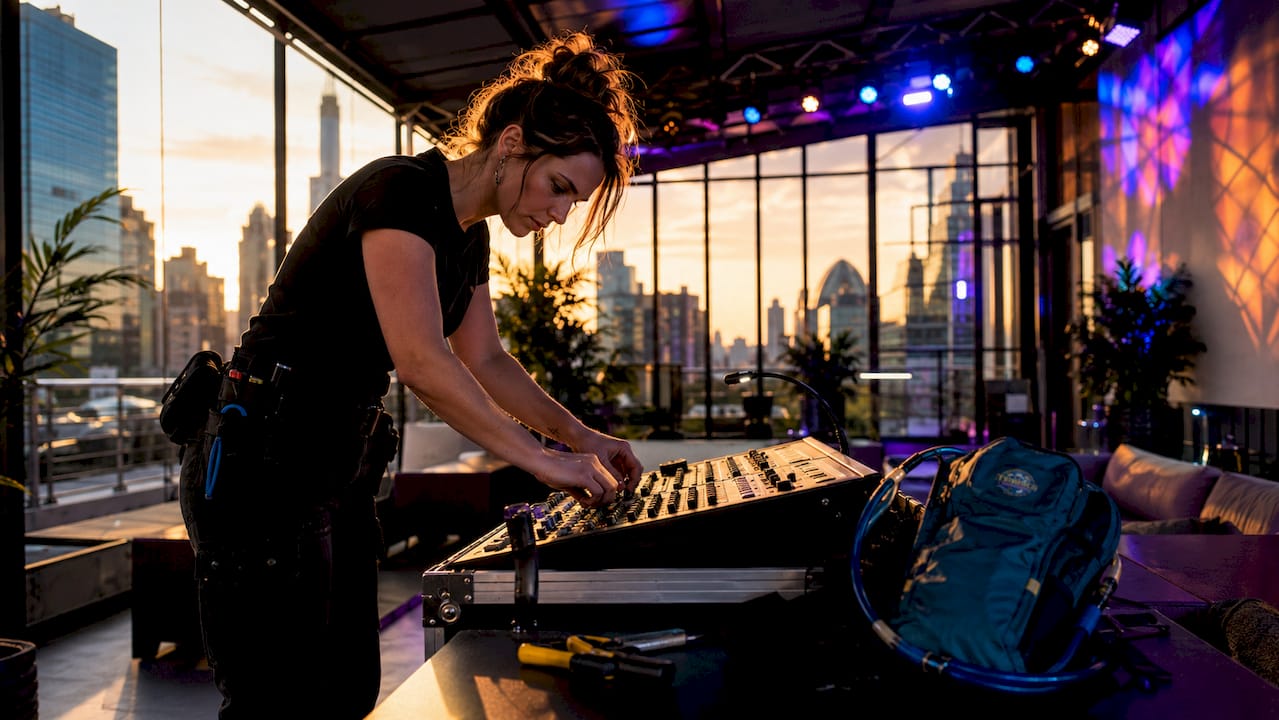
A professional sound and lighting setup is defined as the coordinated deployment of audio and visual systems to control atmosphere, clarity, and audience focus at any event. Get it right, and guests feel every moment. Get it wrong, and even the best venue falls flat. This sound and lighting setup guide covers everything from power planning and speaker placement to lighting layers and live programming. Whether you are organizing a backyard graduation party in Kapolei or a 500-person corporate event in Honolulu, the same core principles apply. Terrifficsentertainment builds every setup around these principles to deliver celebrations that look and sound exactly right.
What does a sound and lighting setup guide actually cover?
A complete audio visual setup starts before any equipment leaves the truck. The two non-negotiable prerequisites are a site survey and a power plan. Skipping either one creates problems that no amount of talent can fix on the day of the event.
Site survey and venue assessment
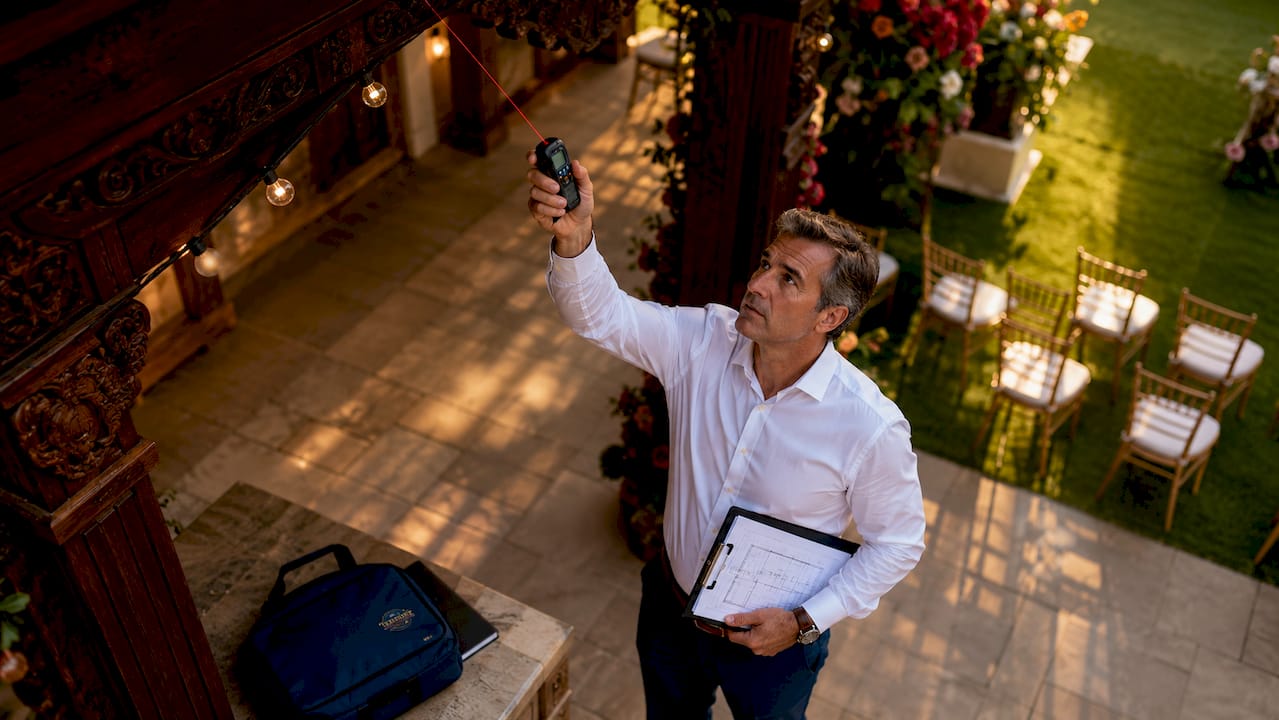
Walk the venue before load-in day. Measure the room or outdoor space, note ceiling height, identify power outlets and their amperage, and look for acoustic problems like hard parallel walls or open-air wind exposure. Indoor venues trap sound and reflect light. Outdoor venues do neither, which changes every calculation you make.
Power planning
Outdoor sound systems for 500–1,000 people require 6,000–12,000 watts total power draw, while lighting rigs draw 3,000–8,000 watts depending on fixture count. Those numbers mean a standard residential circuit will not come close. Plan for a dedicated generator or confirm venue panel capacity before booking any gear. Proper AV setups require a 20–25% safety margin above your calculated load, plus an uninterruptible power supply (UPS) for critical gear like mixing consoles and lighting controllers.
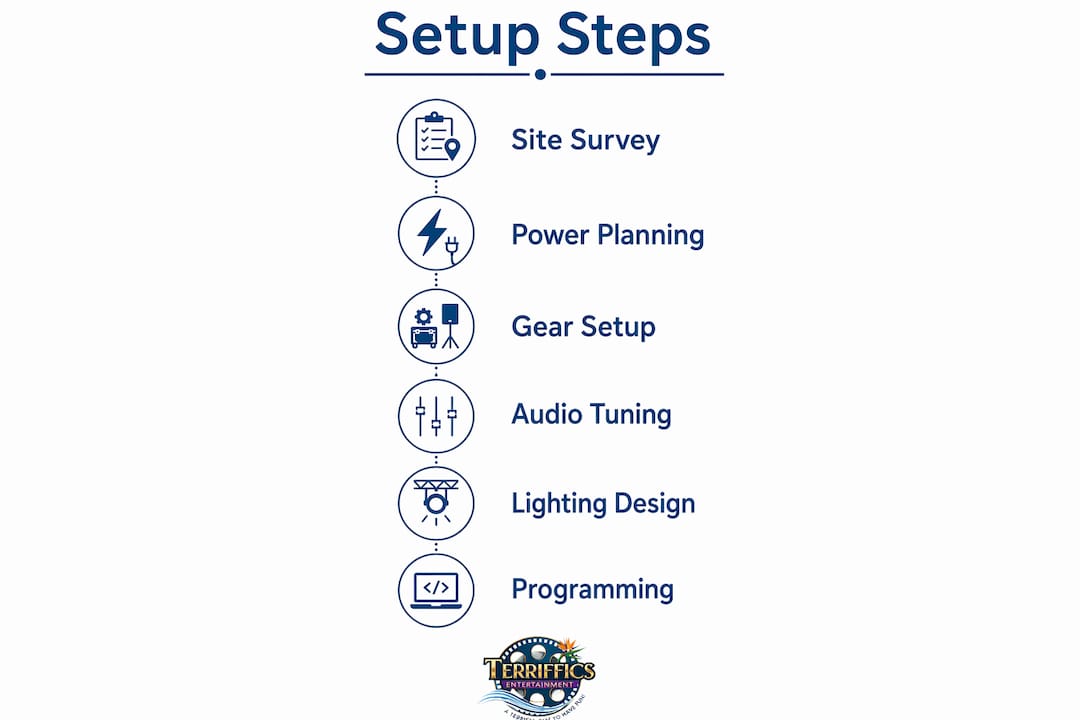
Essential gear categories
Every setup draws from the same core equipment list. Here is what you need to account for:
Audio: Main speakers, subwoofers, stage monitors, mixing console, microphones, DI boxes, and all cabling
Lighting: LED PAR cans, moving head fixtures, ellipsoidal spotlights, uplights, and a DMX lighting controller
Control and safety: Power distribution units (PDUs), cable ramps, gaffer tape, and a labeled patch bay
Pro Tip: Build a run-of-show document, a cue sheet, and a power load spreadsheet before you touch a single cable. Structured AV documentation reduces risk and keeps every operator on the same page throughout the event.
How do you set up audio for clear, even sound coverage?
Speaker placement is the single biggest factor in audio quality. A speaker in the wrong position creates dead zones, feedback loops, and uneven volume. Follow a logical sequence and you avoid most of those problems before the first sound check.
Position main speakers first. Place them at the front of the stage, angled outward at roughly 45 degrees to cover the audience width. Aim the tweeters at the back third of the crowd, not the front row.
Add subwoofers at ground level. Place subs at the center of the stage or in a cardioid array (two subs facing forward, one facing backward) to focus low-frequency energy toward the audience and reduce stage rumble.
Set up stage monitors. Performers need to hear themselves. Wedge monitors face upward toward the performer from the front edge of the stage. In-ear monitor systems work better for loud outdoor environments.
Deploy delay towers for large outdoor events. Outdoor events lose roughly 10 dB of acoustic energy compared to indoors because there are no walls to reflect sound. Delay towers extend coverage beyond 150 feet without pushing the front-of-house speakers to damaging volumes.
Set gain structure from source to output. Start at the microphone or instrument, set each gain stage to peak just below clipping, and work your way to the amplifier. This keeps the signal clean at every point in the chain.
Calibrate with a sound pressure level (SPL) meter. Comfortable speech sits around 70–75 dB at the listener’s ear. Music peaks for a party or wedding reception typically run 85–95 dB. Calibrated audio meters help you maintain consistent levels and protect your audience’s hearing.
Pro Tip: Log your audio peaks at the start of the event and again 30 minutes in. Rooms fill up with people, and bodies absorb high frequencies. You will almost always need to add 2–3 dB of high-mid after the crowd arrives.
For a deeper look at speaker selection and system sizing, the event sound system guide from Terrifficsentertainment breaks down equipment choices by event type and crowd size.
How do you design lighting that creates atmosphere and focus?
More lighting gear does not equal better production. Layering ambient fill, key lighting, and accent effects creates professional impact. Adding fixtures without a plan produces visual noise.
The three lighting layers
Ambient fill is the base layer. LED PAR cans pointed at walls or ceilings create a wash of color that sets the overall mood. Warm tones (2,700K–3,200K) suit intimate gatherings like weddings and birthday dinners. Cool white or saturated colors work well for corporate events and school dances.
Key lighting targets presenters, performers, or the head table. An ellipsoidal spotlight mounted at a 45-degree angle reduces harsh shadows on faces and makes subjects look natural in photos and video. This detail matters more than most planners realize, especially when a photographer is on site.
Accent and effects lighting adds movement and energy. Intelligent moving heads signal transitions between program segments and respond to music beats. Uplighting fixtures spaced 8–10 feet apart along walls create even color saturation without hot spots. Pin-spotting table centerpieces is a low-cost upgrade that dramatically improves the look of seated dinner events.
Atmospheric effects
Haze machines and fog machines are not interchangeable. Haze machines produce a fine mist that reveals light beams without obscuring the audience or triggering fire alarms. Fog machines produce dense clouds that look dramatic in photos but can set off venue smoke detectors and block sightlines. Always check venue policy before bringing either one on site.
Pro Tip: Lighting is a psychological tool. Research shows that audiences check their phones every 12 minutes on average. Focused key lighting on a speaker or performer pulls attention back to the stage and reduces that distraction. Use light to tell your audience where to look.
For a full breakdown of fixture types and party-specific setups, the lighting setup guide from Terrifficsentertainment covers options for weddings, birthdays, and everything in between.
How do you program and integrate sound and lighting controls?
Programming is where a good setup becomes a great show. The goal is to build cues in advance so operators are executing a plan, not improvising under pressure.
Learn your lighting console’s DMX basics. DMX512 is the industry-standard protocol for controlling lighting fixtures. Each fixture gets a DMX address, and the console sends commands to those addresses. You do not need to be an engineer, but you do need to understand channel addressing before the event.
Build pre-sets for each program segment. Create a scene for cocktail hour, a scene for dinner, a scene for dancing, and a scene for speeches. Label each one clearly so any operator can find it fast.
Use pre-visualization software before load-in. Pre-viz programs let you program lighting cues off-site in a virtual model of the venue. This saves hours of on-site programming time and prevents visual conflicts before a single fixture is hung.
Assign a dedicated live operator for complex shows. Static pre-sets work for simple events. Any show with live performers, multiple speakers, or dynamic program changes needs a human at the console making real-time adjustments.
Coordinate audio and lighting cues together. Walk through the run-of-show with both the audio engineer and the lighting operator before doors open. Agree on who calls each cue and how. A walkie-talkie or headset system keeps communication clean during the show.
Pro Tip: The most common programming mistake is building too many scenes and not labeling them clearly. Keep your cue list simple. Five well-named scenes beat twenty confusing ones every time.
Checklist and troubleshooting for reliable event AV
A pre-show checklist is not optional. It is the difference between a smooth event and a panicked fix during the first song.
Power check: Confirm all circuits are live, PDUs are labeled, and load calculations include the 20–25% safety margin.
Cable check: Walk every cable run from source to destination. Label both ends of every cable with gaffer tape and a marker.
Speaker check: Play pink noise through the system and walk the room. Identify any dead zones or feedback-prone positions and adjust before guests arrive.
Lighting check: Trigger every scene and confirm all fixtures respond. Replace any burned-out lamps or malfunctioning fixtures before load-in is complete.
Microphone check: Test every mic at speaking volume, not whisper volume. Check for RF interference on wireless systems by scanning frequencies before the event.
Sightline and accessibility check: Confirm no speaker stand, lighting truss, or cable run blocks wheelchair access or emergency exits.
For outdoor events, add a weather contingency plan. Cover all electronics not rated for outdoor use. Have cable covers ready for any rain. Secure all stands and truss with sandbags or ballast weights rated for wind load.
The single most overlooked item in any AV checklist is the backup plan. Bring a spare wireless mic receiver, a spare DMX cable, and a spare power strip. Equipment fails at the worst possible moment. A backup on the truck takes five minutes to swap in and saves the entire event.
Key takeaways
A professional sound and lighting setup requires layered planning across power, placement, design, and programming before a single cable is connected.
Point | Details |
Power planning comes first | Calculate total wattage and add a 20–25% safety margin before selecting any equipment. |
Speaker placement drives audio quality | Position mains at 45 degrees, add delay towers beyond 150 feet, and calibrate with an SPL meter. |
Layer your lighting | Use ambient fill, key lighting, and accent effects together for professional visual impact. |
Program cues before load-in | Pre-visualization software reduces on-site errors and saves hours of setup time. |
A checklist prevents failures | Walk every cable, test every mic, and confirm every lighting scene before guests arrive. |
What I’ve learned after years of setting up events across Oahu
The biggest mistake I see event planners make is treating sound and lighting as two separate projects. They hire an audio person, then figure out lighting later. By the time lighting gets planned, the speaker positions are locked in and the power circuits are already maxed out. The result is a compromised setup that neither team is happy with.
Integrated planning changes everything. When audio and lighting get designed together from the site survey forward, the whole system works better. Speaker placement accounts for where lighting fixtures will hang. Power loads get distributed evenly. Cue sheets align so the lighting transition into a speech happens exactly when the microphone goes live.
The other thing I will say plainly: technology has made this easier than it used to be. Pre-visualization software means you can show a client exactly what their event will look like before anything gets loaded into the truck. That conversation used to happen on paper sketches. Now it happens in a 3D model. Clients make better decisions, and we show up on-site with a plan that actually works.
Sound and lighting are not technical chores. They are the tools you use to shape how guests feel from the moment they walk in. Treat them that way, and every event gets better.
— Terriffics
Terrifficsentertainment is ready to handle your event AV
Planning a celebration on Oahu and want professional sound and lighting without the stress of doing it yourself? Terrifficsentertainment handles everything from speaker placement and DMX programming to uplighting and atmospheric effects for weddings, graduations, corporate events, and community gatherings across the entire island.
Browse our event setup gallery to see real setups from past events and get a feel for what your celebration could look like. If you are planning an outdoor event, check out our outdoor movie rental service, which includes full AV support for open-air screenings and parties. We offer flexible packages, fast setup, and friendly service. Reach out to get a custom quote for your event.
FAQ
What is the minimum power needed for an outdoor event?
Outdoor sound systems for 500–1,000 guests require 6,000–12,000 watts for audio alone, plus 3,000–8,000 watts for lighting. Always add a 20–25% safety margin to your total load calculation.
When do I need delay towers for sound?
Delay towers are recommended when your audience extends beyond 150 feet from the main speakers. They extend even coverage without pushing front-of-house speakers to damaging volumes.
What is the difference between a haze machine and a fog machine?
A haze machine produces a fine mist that reveals light beams without blocking sightlines or triggering fire alarms. A fog machine creates dense clouds that can obscure the audience and set off venue smoke detectors.
How far apart should uplighting fixtures be spaced?
Space uplighting fixtures 8–10 feet apart along walls for even color saturation. Closer spacing creates hot spots, while wider spacing leaves gaps in coverage.
Do I need a live operator for lighting during my event?
Simple events with static pre-set scenes can run without a dedicated operator. Any event with live performers, multiple speakers, or dynamic program changes needs a live operator at the console making real-time adjustments.
Recommended
Comments